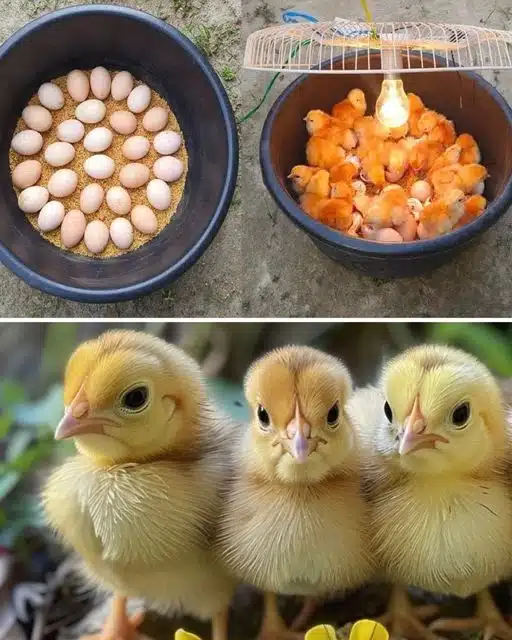
Imagine being able to witness the birth of a little chick from the comfort of your own home. No need for sophisticated equipment or a big budget. What if a simple plastic water bottle could be the key to a successful hatching? This amazing method, accessible to everyone, is as intriguing as it is fascinating…
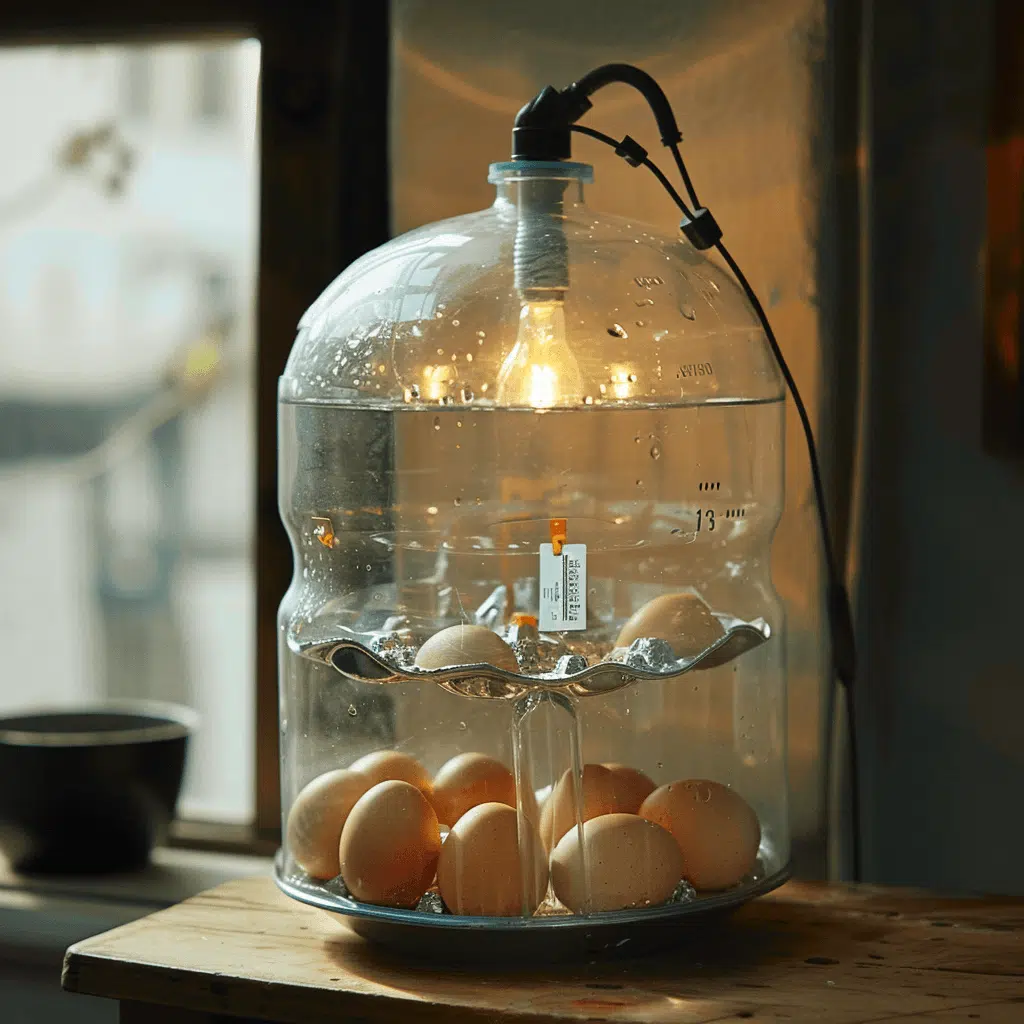
How to Turn a Water Bottle into an Incubator
This is a project that’s both eco-friendly and ingenious. With a few everyday objects, you can create a small, warm, humid cocoon, ideal for incubation.
The necessary equipment
Before you begin, here’s what you need:
1 large clear plastic water bottle (approximately 1.5 L)
A small incandescent light bulb or other gentle heat source
Aluminum foil or reflective tape
An indoor thermometer
A small bowl of water
A felt-tip pen, a cutter or scissors
Adhesive tape or glue
Preparing the bottle
Start by thoroughly cleaning the bottle. Draw a line halfway down, then cut it into two parts. The bottom will hold the eggs, while the top will form the lid.
Ventilation and heat: two crucial elements
Drill small holes all around the base to ensure good air circulation. Then, install your heat source ( preferably a low-wattage light bulb ) attached to the side of the base. The aluminum will help reflect the heat and distribute it more evenly.